| Metal Work | up ↑ |
I got started working on jewelry with a one-off personal project, and then expanded to meet requests from the women in my family.
The personal project came up when I was working for the National Science Foundation. We were all required to wear a security photo ID badge, with embedded smart chip and magnetic stripe, like a credit card. The badge had to be visible to security personnel on entry to the building, and as a name tag at meetings. As time went on, they required it for more things, which required pulling it out of the badge holder. These included logging into one's computer workstation, and accessing elevators.
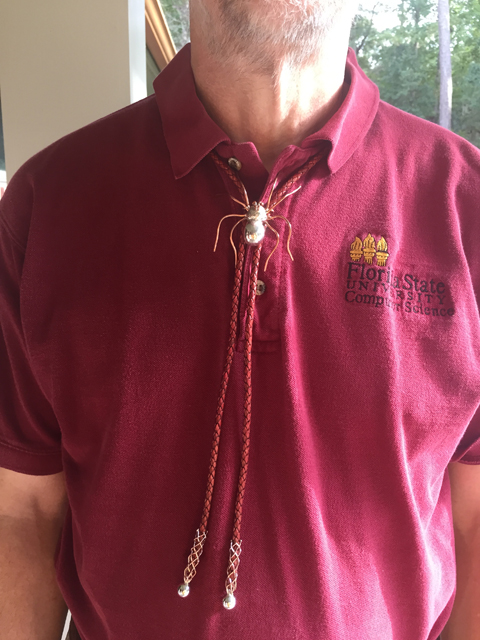
The badges came with a ribbon lanyard. I never liked wearing neckties, or buttoning the top button of my collar. One day it occurred to me that the lanyard resembled a bolo tie. If I could attach the ID card to the tip of a bolo tie, I could dispense with neckties as well as the ribbon lanyard and still look reasonably well dressed.
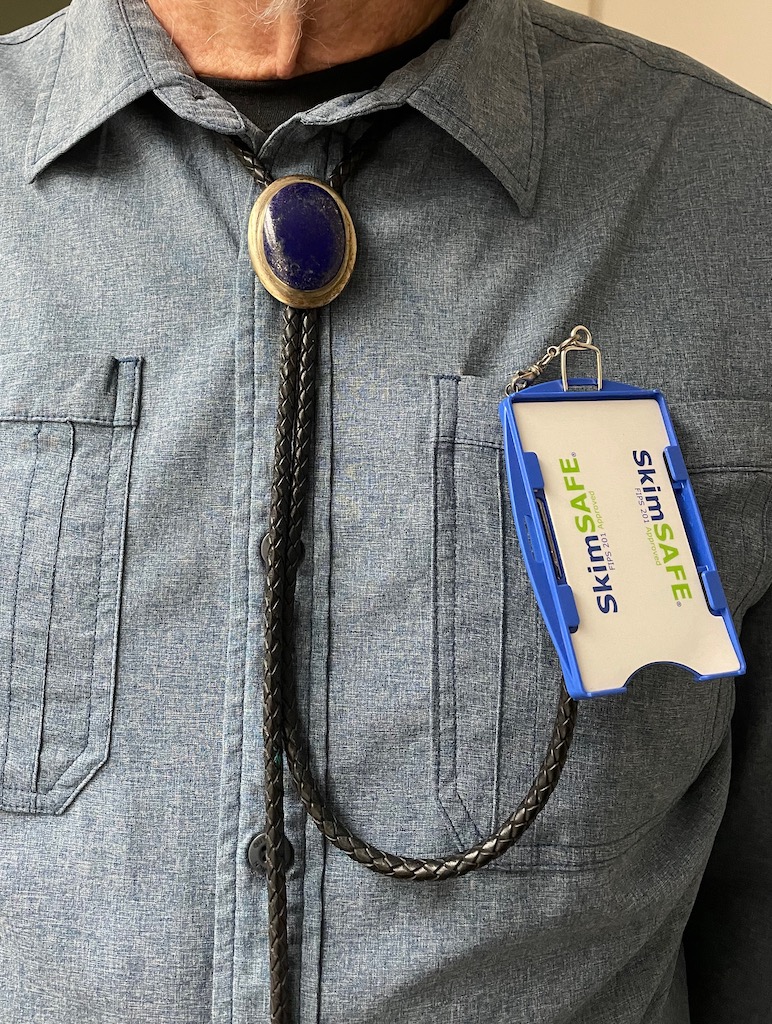
My first thought was to commission a bolo with a way of attaching my ID card, from a Navajo/Diné silversmith. I opened an e-mail correspondence with one whose work I admired, but was too impatient, and decided to try making something myself. The result is shown below.
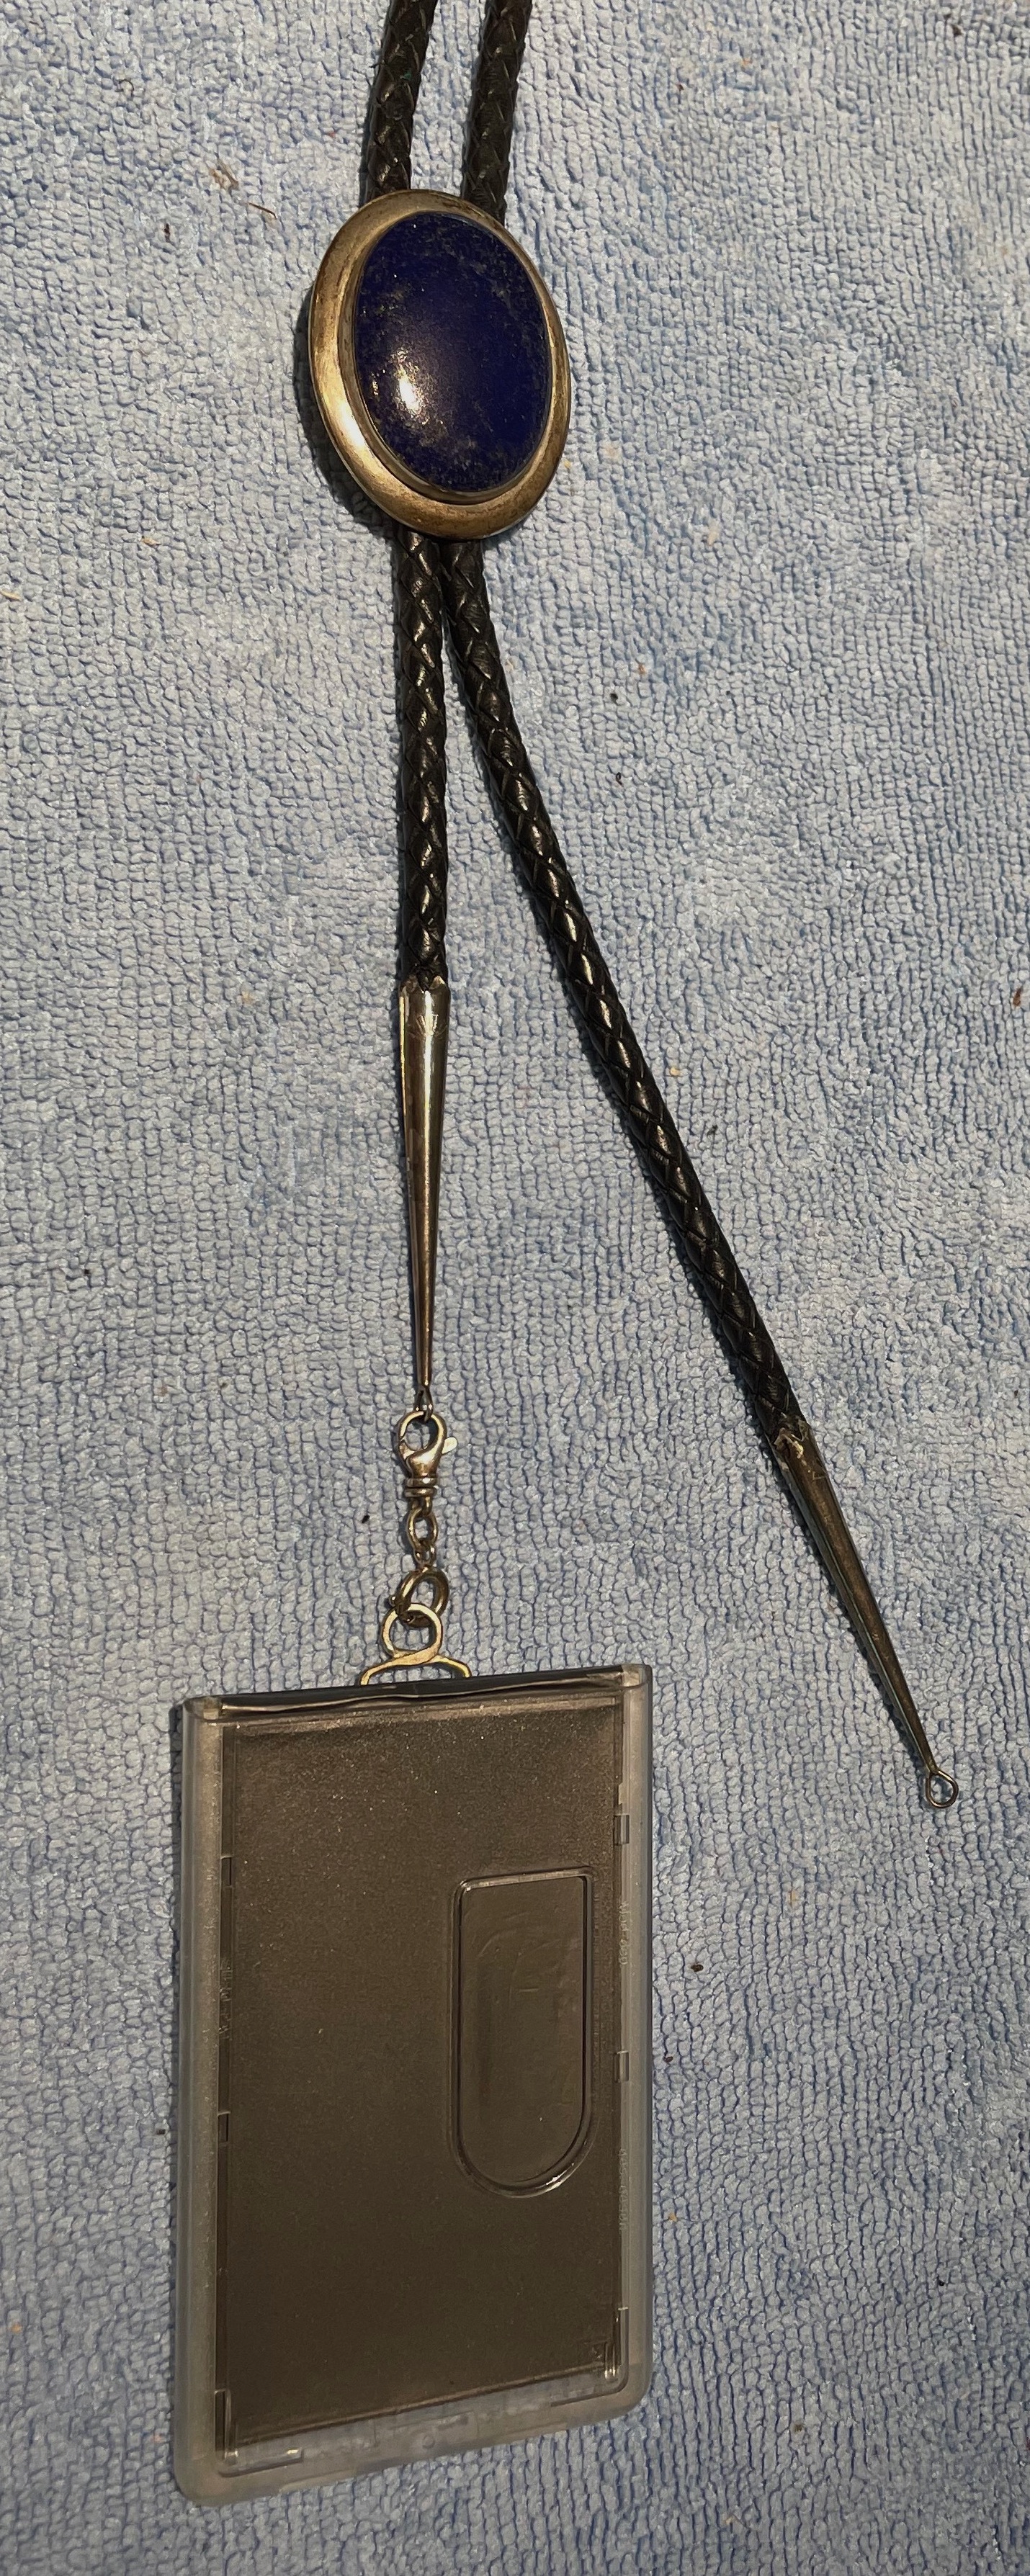
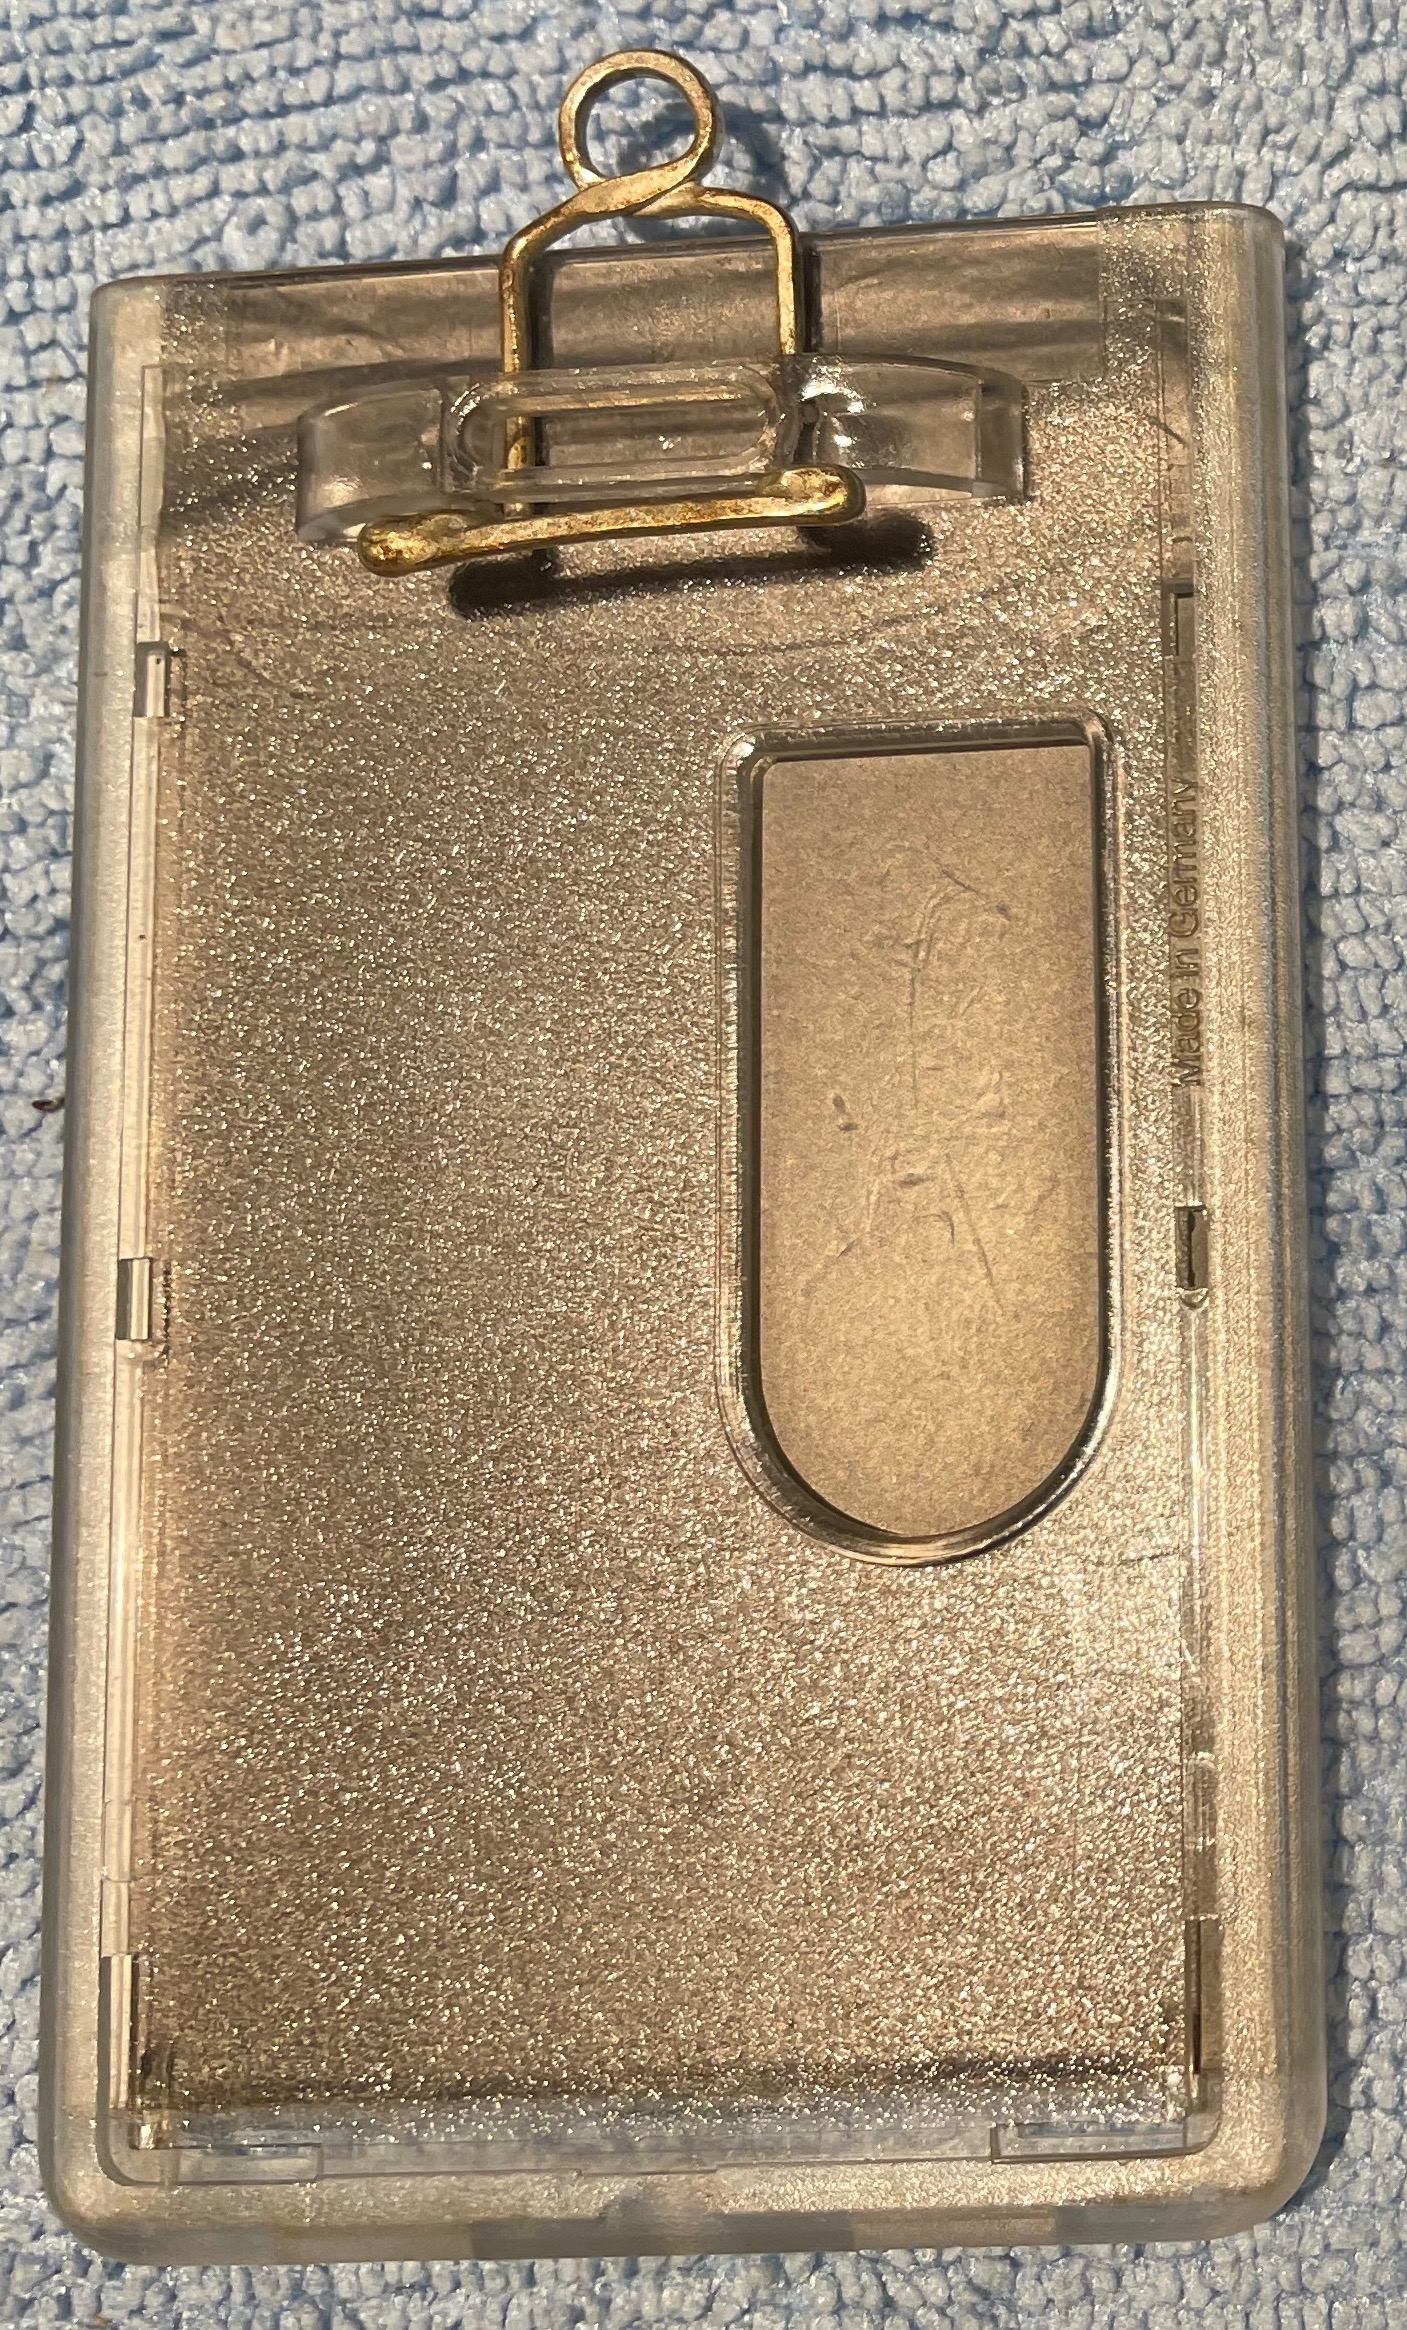
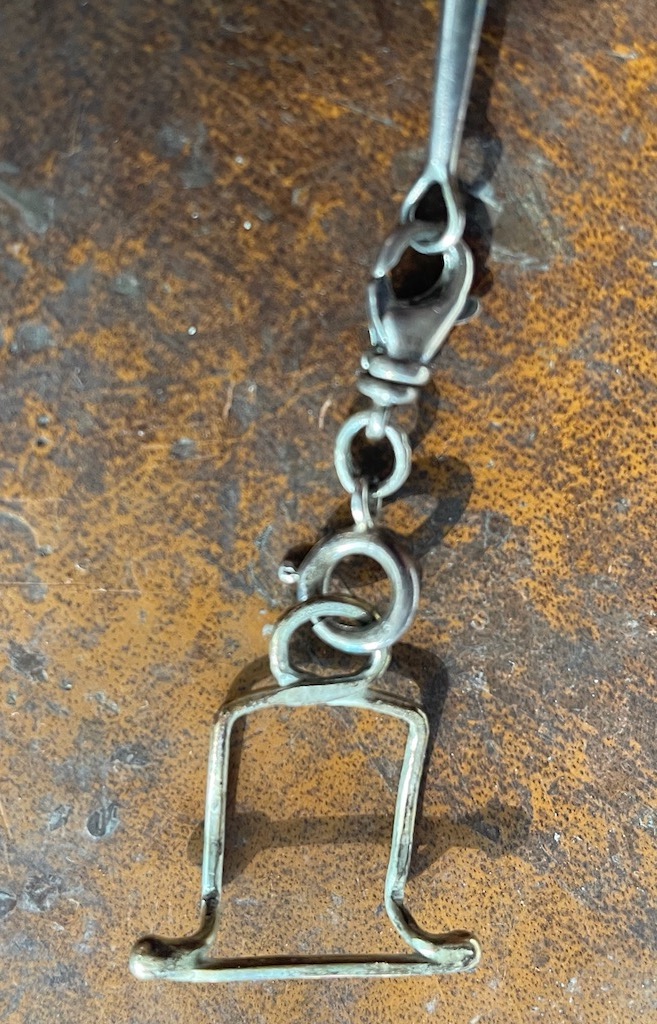
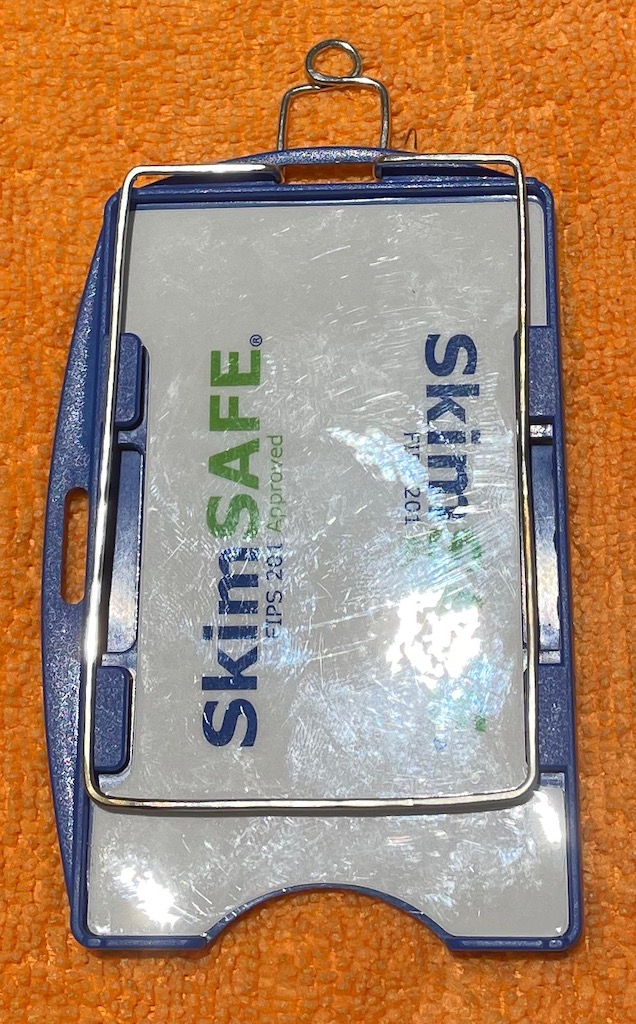
The ID card holder is one of the two standard plastic varieties used by the NSF at that time. The wire stirrup goes through a slot in the back. The bolo tie has tips with loops. The connector is a lobster clasp with swivel, jointed to a spring ring claps by a jump ring. The parts are all off-the shelf items from Rio Grande jewelry supply.
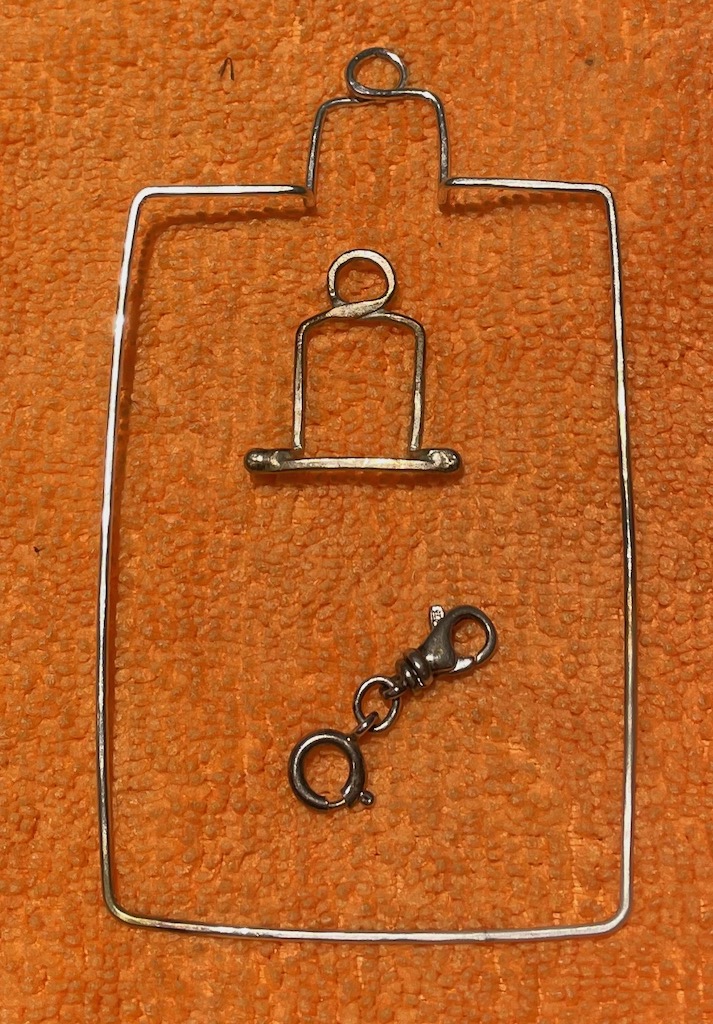
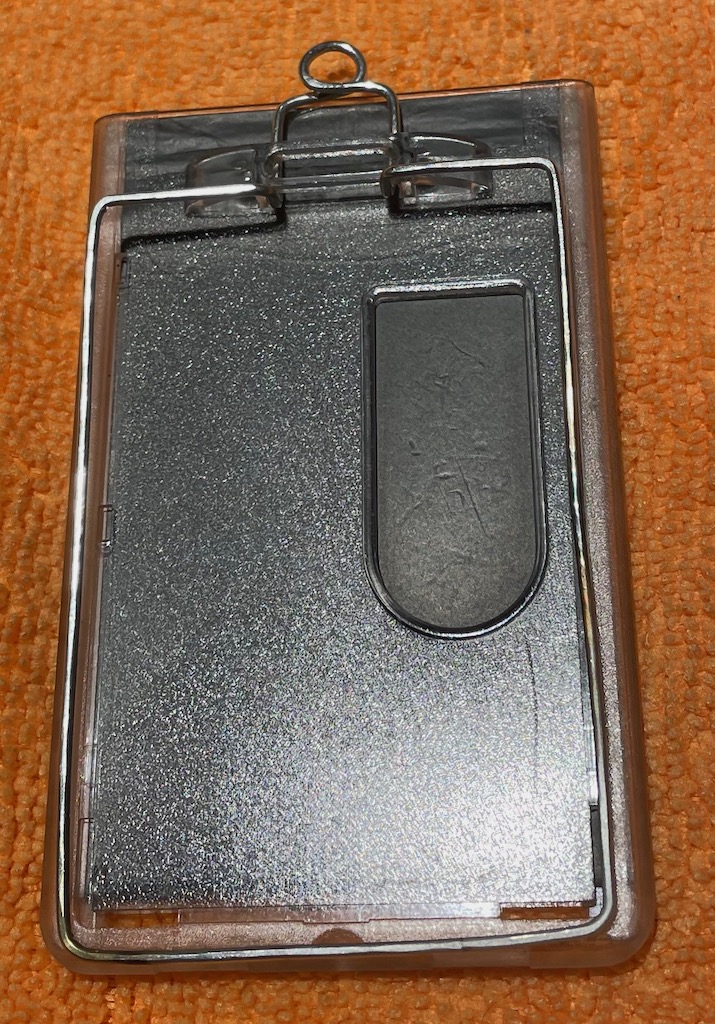
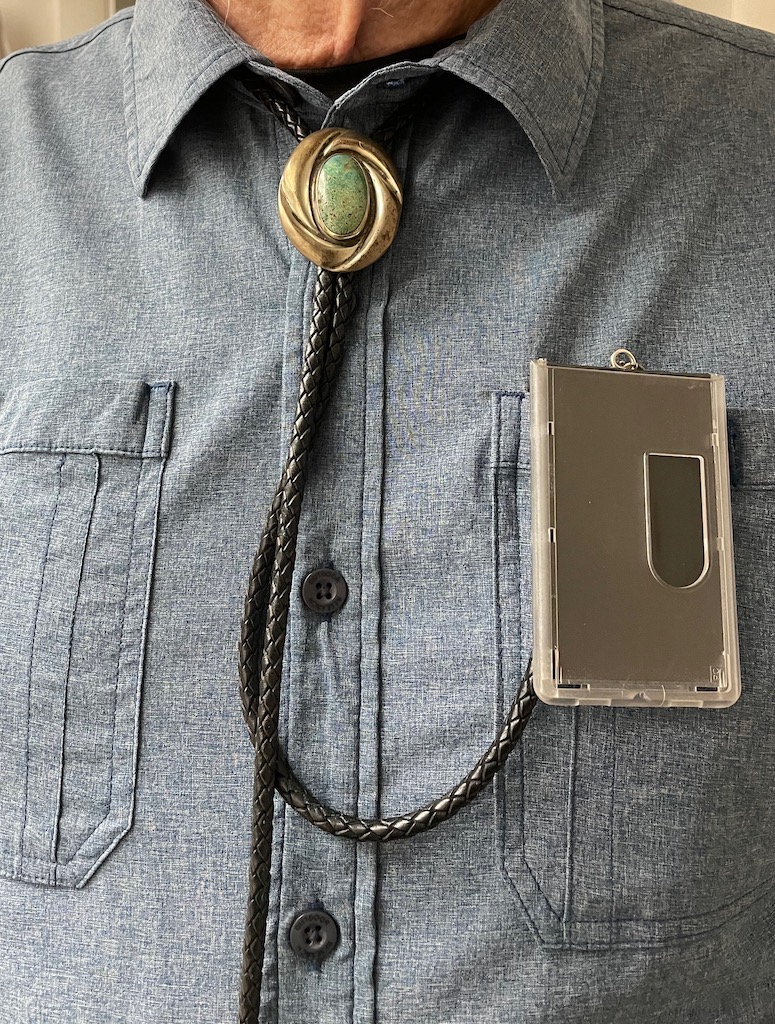
After using this for a while, I wished for a way to hang it on my shirt or jacket pocket, for those situations where it needed to be visible. So, I tried a modification to the stirrup, that would allow hooking it over a pocket, shown below. I made both stirrups so they woudl aork with both of the two types of plastic ID card holders used by the NSF at that time.
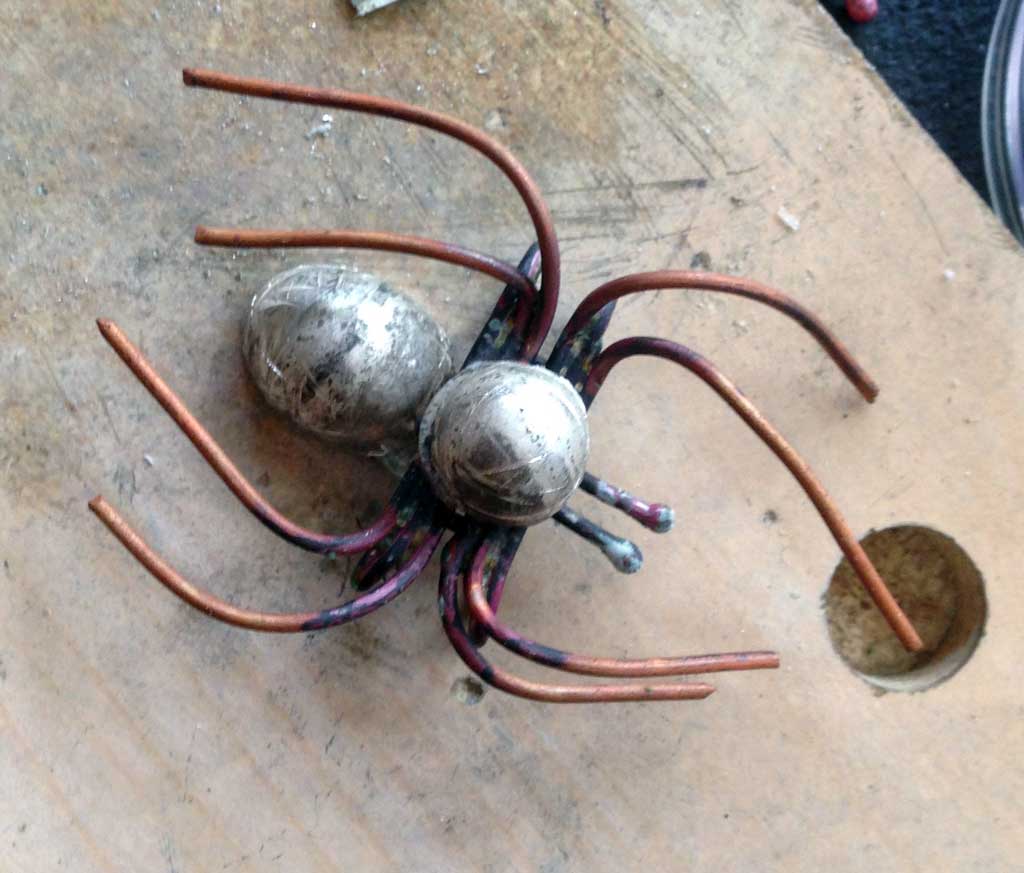
I had originally planned to stop there, but balked at defacing my magnificent one-and-only "LMB" bolo tie to put on the new tips with loops. So, I tried making simple one of my own, using a lapis cabochon. As time went on, having invested in tools already, I started playing around with different designs for bolos. The two above were my first attampts. The metal is "Argentium" (TM) sterling. The first one I hammered on a wood block, using rounded-end pegs I cared from a maple tree branch. The wood didn't hold up to pounding very well, so I invested in some chasing/repoussé tools to meke the second. After that, I went on to make around a dozen more bolos of various designs, including the following one for my cousing John, an arachniologist who lives in Paraguay.
When my daughters saw the bolos, they started making requests for items, starting with replacements and repairs for lost or broken earrings, then gift items for their friends and in-laws. One thing led to another. Some day maybe I'll post photos of the hundreds of items I have made. It will only be a small subset, since I neglected to take photos of most of them.
My aunt, Marguerite Kroekel, encouraged me in this hobby. She served as an art teacher in the public schools. She studied and then taught, many arts and crafts, including painting, drawing, lithography, etching, sewing, knitting, weaving, macrame, ceramics, enamel work, and metal work in aluminum, copper, silver and gold. I found some of her jewelry tools and materials rusting away in her basement. She agreed to let me have them, along with some materials. I was able to de-rust and use several of the tools, including my favorite set of pliers.
(For storage of jewelry tools follow this link.)
| © T. P. Baker |